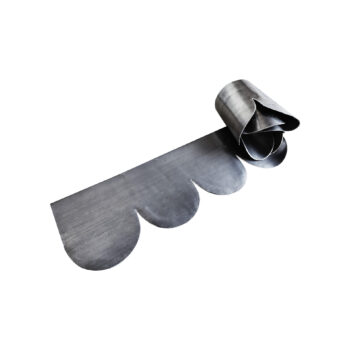
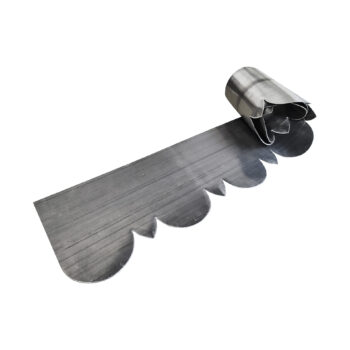
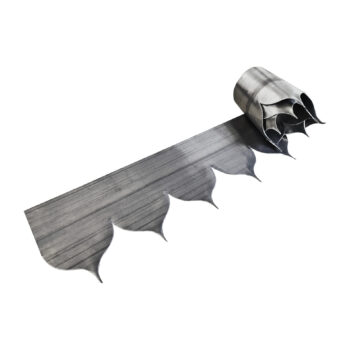
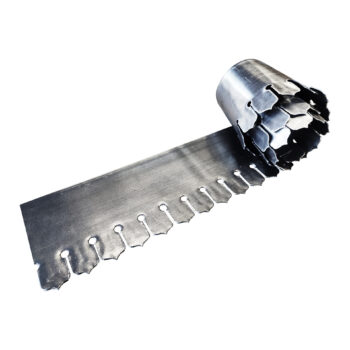
Lead roof flashings are specifically designed to provide a durable and weatherproof seal. Protecting your roof and preventing water ingress. Beyond their practical function, certain designs, such as scalloped lead flashing, are carefully crafted to enhance the aesthetic appeal of architectural structures with their decorative touch.
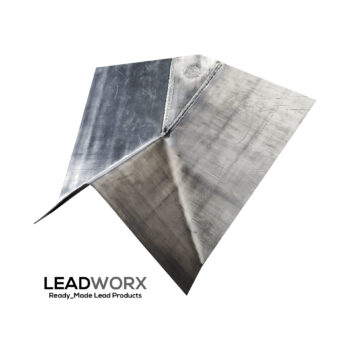
Leadworx fabricates a range lead flashing products. Made using 100% recyclable Code 4 sheet lead milled to British Standard BS EN 12588.
In the UK and across the world, rules for lead roof flashing to ensure safety, durability, and effectiveness in protecting buildings from water ingress. Lead is a highly durable material, but incorrect installation can cause issues such as leaks, corrosion, or structural damage.
In the UK, lead roof flashing must adhere to guidelines set by the Lead Sheet Training Academy (LSTA) and British Standards (BS EN 12588). The rules show that lead must be of the correct thickness, typically between Code 3 and Code 5, depending on the application. Flashing should be installed with sufficient overlap to ensure water tightness, typically 100mm for most roof pitches.
Fixings must allow for thermal expansion and contraction to prevent cracking, with provisions for free movement such as sliding clips. Proper sealing with lead sealant or mortar is essential, and lead must not be over fixed or excessively long to avoid buckling. Additionally, health and safety standards must be followed, particularly for working at height.
What are the benefits of using lead for roof flashing’s?
Lead is an ideal material for roof flashing’s due to its durability, weather resistance, and flexibility. Allowing it to fit complex roof profiles while accommodating thermal movement without cracking. With a lifespan exceeding 100 years, it offers excellent long-term value and aesthetic appeal, developing a natural patina over time. Additionally, lead is sustainable and recyclable, making it an environmentally friendly choice. With a proven track record in both traditional and modern roofing applications.
LEADWORX TOOLS
Roof pitch calculator
Calculate from measurements, or estimate the angle from a photograph.
Rise & run
Measure the vertical rise and horizontal run between the same two points.
Use the same unit for both, such as mm or cm. Run is not the sloping roof length or automatically the full building width.
Enter your measurements to begin.
Calculated roof pitch—degrees from horizontal
Other pitch formats
Enter measurements first.
These formats describe the same slope; they are not product size recommendations.
Photo estimate
Use a square-on view of the roof profile, with a known horizontal reference in the same plane.
The photo box opens your camera on supported phones and tablets. On a computer, choose a photo file or drop one into the box.
Processed on your device by this tool. JPG, PNG or WebP, up to 20 MB and 24 megapixels. Export HEIC as JPG first.
Roof slope · 0/2 points
Horizontal reference · 0/2 points
Tap the photo box or choose a saved photo.
Tap four points: two on the roof slope, then two on a level reference. Drag points to adjust. Use long lines for a better estimate.
Keyboard & precise adjustment
Focus the photo. Arrow keys move the marker; Shift moves 10 pixels. Enter adds a point. Select a placed point below to adjust it with the arrows. Escape returns to the free marker.
No points placed.
Estimated roof pitch—verify before ordering
Other pitch formats
Mark the photo first.
The reference line corrects camera tilt, not perspective or lens distortion. A photo cannot guarantee the angle needed for manufacture.
Check the pitch before ordering made-to-measure leadwork. Measure only from a safe, accessible position.
We have recently updated our Privacy Policy to be in line with GDPR guidelines. To find out more please see our Privacy Policy



 Switch to Ireland