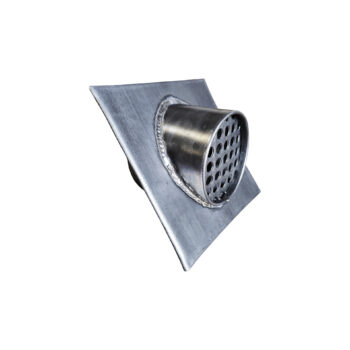
Leadworx lead wall vents offer an attractive method of terminating ventilation pipes and extractors to an exterior wall. These aesthetically pleasing vents provide an alternative to the generic plastic versions commonly used and will last a lifetime.
Our range of wall vents are crafted to ensure long-lasting performance.
Leadworx lead wall vent covers terminate extractor and ventilation pipework cleanly through an exterior wall. Available in pyramid, square and round profiles, we commit to sustainability by using 100% recyclable Code 4 and 5 sheet lead, meticulously milled to meet the exacting standards of British Standard BS EN 12588. This gives a fixing that outlasts plastic and weathers to match the building rather than standing out against it.
Vents are supplied with a spigot for direct connection to flexible ducting from mechanical extraction. Bespoke sizes are available on request.



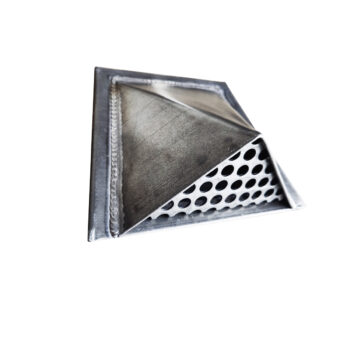
Match the vent’s spigot diameter to your ducting. Most domestic extractor fans use 100mm ducting, which our round and square vents are supplied to fit as standard. For larger mechanical extraction, tell us the duct size and we can fabricate a vent to match.
Not sure whether you need a wall vent or need more information? See our guide to wall vents and home ventilation.
Replacing an existing vent like-for-like doesn’t typically need permission. Adding a new penetration through an external wall may fall under Building Regulations Part F (ventilation), or need listed building consent on a protected building. Check with your local authority or specifying architect before installation.
Yes, and it’s one of the main reasons they’re specified over plastic. Lead is a traditional building material recognised by conservation officers, and it weathers to a natural grey patina rather than staying stark white or discolouring in UV like plastic.
LEADWORX TOOLS
Calculate from measurements, or estimate the angle from a photograph.
Measure the vertical rise and horizontal run between the same two points.
Use the same unit for both, such as mm or cm. Run is not the sloping roof length or automatically the full building width.
Enter your measurements to begin.
Enter measurements first.
These formats describe the same slope; they are not product size recommendations.
Use a square-on view of the roof profile, with a known horizontal reference in the same plane.
The photo box opens your camera on supported phones and tablets. On a computer, choose a photo file or drop one into the box.
Processed on your device by this tool. JPG, PNG or WebP, up to 20 MB and 24 megapixels. Export HEIC as JPG first.
Tap the photo box or choose a saved photo.
Tap four points: two on the roof slope, then two on a level reference. Drag points to adjust. Use long lines for a better estimate.
Focus the photo. Arrow keys move the marker; Shift moves 10 pixels. Enter adds a point. Select a placed point below to adjust it with the arrows. Escape returns to the free marker.
No points placed.
Mark the photo first.
The reference line corrects camera tilt, not perspective or lens distortion. A photo cannot guarantee the angle needed for manufacture.
Check the pitch before ordering made-to-measure leadwork. Measure only from a safe, accessible position.