 Switch to Ireland

What is Corner Flashing Used for?
Corner flashings are essential components in building construction, providing a waterproof seal at the intersection of walls and roofs. By preventing water from penetrating joints,


 Currently viewing - English
Corner flashings are essential components in building construction, providing a waterproof seal at the intersection of walls and roofs. By preventing water from penetrating joints,

Damp is a common issue that can compromise the structural integrity of buildings, cause health problems, and lead to costly repairs if left untreated. A

What Happens if I Have Bats in My Roof? Bats frequently take refuge in roofs, as these structures provide a secure, warm, and protected environment
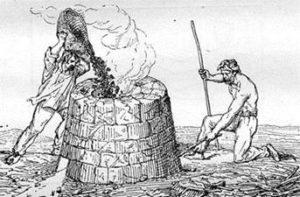
Lead has an extraordinary history as one of the oldest and most versatile metals used by humans. Its durability made it invaluable for construction, with

Roof flashing is a crucial part of a roofing system that helps direct water away from important areas like joints, chimneys, vents, and valleys. Poor

It’s nice to see some of our products during the installation process. Below you can see different types of chimney flashing products being installed during

Sustainability is becoming an increasingly important factor in the construction industry, particularly when it comes to choosing roofing materials. Roofers, architects, and homeowners alike are

. Creating openings for bats is a simple yet effective way to ensure the long-term protection of their roosts. Bats and their roosts are safeguarded

We are looking forward to putting our feet up after a busy year, eating mince pies and being merry! Once again thank you for choosing

Adequate roof ventilation is a critical component of house building and maintenance. Proper ventilation plays a key role in ensuring the longevity of your roof.

A chimney flashing will weatherproof a chimney by covering the intersections between the tiles or slates to prevent the ingress of water. To ensure maximum
